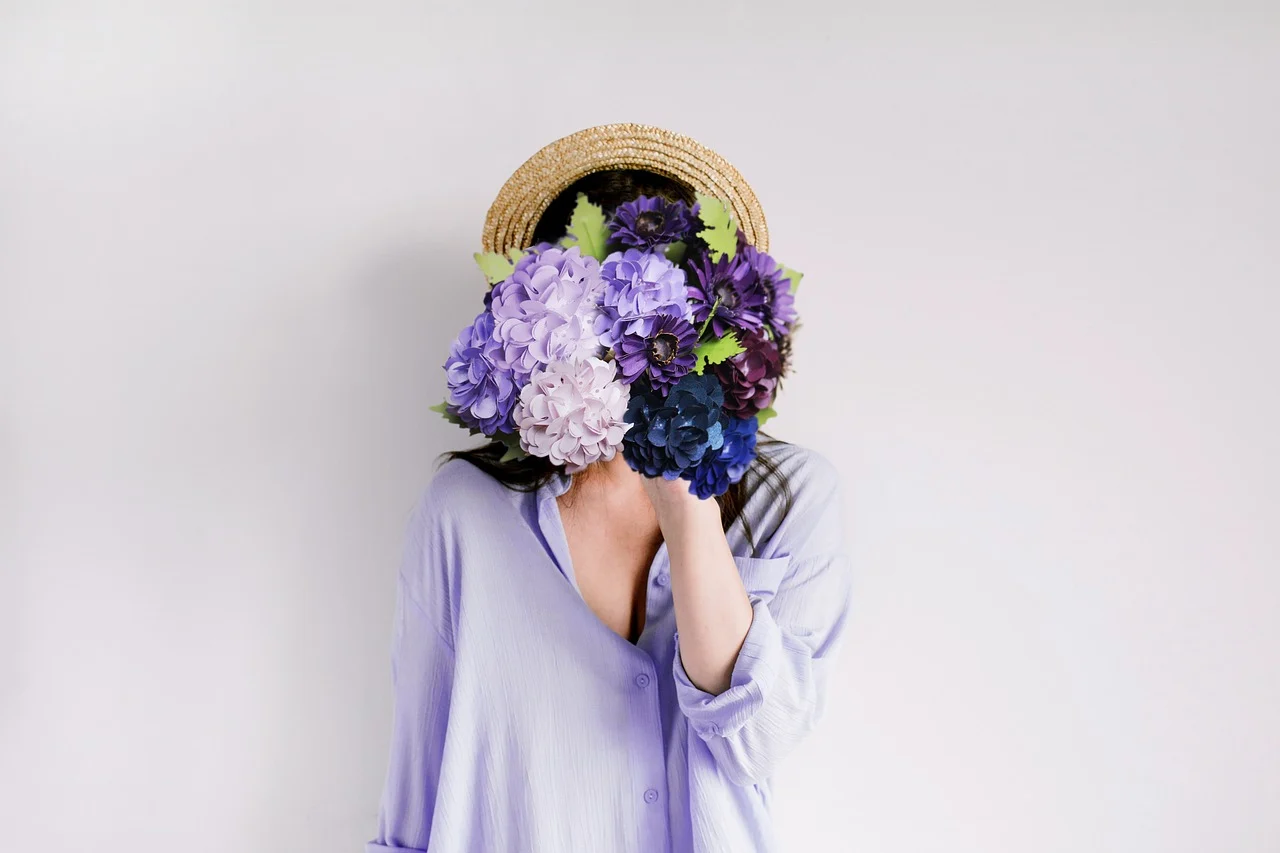
Many people struggle to find affordable decorations that look authentic for special occasions. You might feel overwhelmed by store-bought options that lack personal touch. Understanding how to make a flower out of paper solves this problem immediately. It allows you to customize colors and sizes while keeping costs low. This craft requires minimal tools and offers endless creative possibilities for your home.
Creating artificial blooms provides a lasting alternative to fresh Flowers that wilt quickly. You can enjoy the beauty of nature indoors without worrying about water or sunlight. The process is accessible for beginners and experienced crafters alike. Everyone can achieve professional results with the right guidance and patience.
Essential Supplies for Paper Art
Gathering the correct materials ensures your project turns out smoothly from start to finish. You will need different types of paper depending on the style you prefer. Crepe paper works best for realistic petals due to its stretchy texture. Construction paper is ideal for bold, geometric designs that stand out clearly.
Scissors are necessary for cutting precise shapes without damaging the delicate material. A sharp pair prevents fraying edges that ruin the overall appearance of the bloom. Hot glue guns help secure layers together much faster than standard white glue. Wire stems provide structure and allow you to bend branches into natural positions.
Paintbrushes and acrylic paints add subtle details like veins or color gradients to petals. Measuring tools ensure symmetry when creating multiple flowers for a large arrangement. Having these items ready before starting saves time and reduces frustration during the creative flow.
Step-by-Step Guide on How to Make a Flower Out of Paper
This section breaks down the core process into manageable actions for consistent success. Following a logical sequence helps maintain control over the shape and size of every element.
Cutting the Petals
Begin by tracing a petal template onto your chosen paper carefully with a pencil. Cut along the traced lines using small scissors for maximum accuracy around curves. Create five to seven identical pieces to form a single complete flower head.
Assembling the Center
Stack the cut petals neatly on top of each other to align their bases perfectly. Wrap floral wire tightly around the bottom edge to hold everything in place securely. Twist the wire stem downwards to create a long handle for holding or arranging.
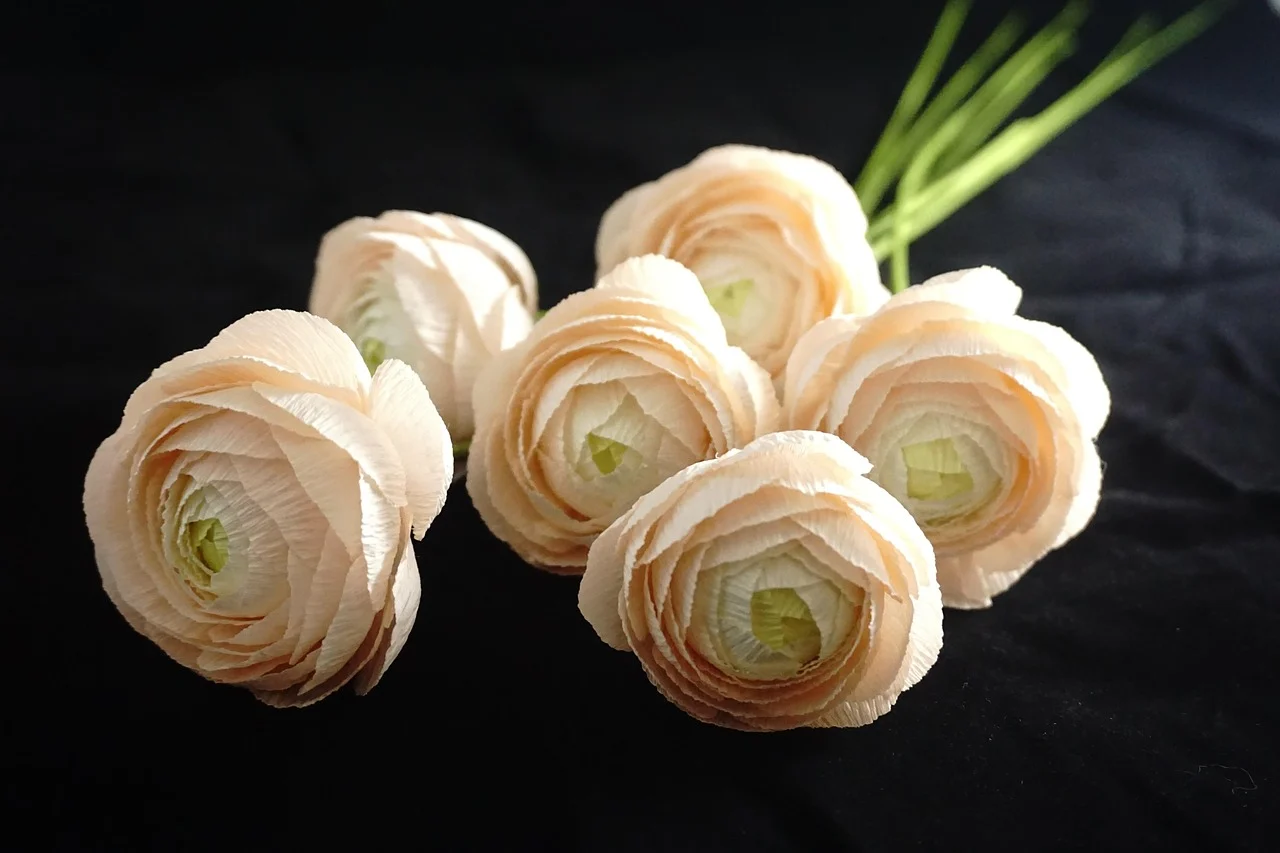
Shaping the Blooms
Gently pull each layer outward to separate the petals from one another effectively. Use your fingers to curl the tips slightly for a more organic and lively look. Adjust the tension until the flower holds its intended open or closed state naturally.
Troubleshooting Issues During Creation
Sometimes things do not go as planned even with careful preparation and execution. Identifying common pitfalls early prevents wasted effort and unnecessary disappointment later in the day.
One frequent mistake involves tearing the paper while attempting to cut intricate shapes. Using dull blades increases resistance and causes uneven cuts that look messy immediately. Always replace scissors regularly when working with heavier cardstock or layered materials frequently.
Another issue arises when the glue bond fails under the weight of thick petals. Applying too much adhesive creates clumps that stiffen the structure unnaturally. Apply thin layers instead and allow each coat to dry completely before adding more.
Styling Ideas for Home Decor
Once you master the basics, you can explore various ways to display your finished work creatively. Hanging arrangements from ceilings add height and visual interest to empty corners of rooms.
Placing bouquets in vases creates a centerpiece for dining tables or entryway consoles. These displays require no maintenance unlike real plants and remain vibrant year after year. Mixing different colors adds personality and reflects current interior design trends effectively.
Grouping similar blooms together creates a cohesive theme that ties a room together visually. You can also incorporate them into gift wrapping to give presents an extra touch of elegance.
Preserving Your Handmade Blooms
Long-term care ensures your artistic efforts last for many years without significant degradation. Dust accumulation is the primary enemy that dulls the vibrancy of bright colored surfaces over time.
Use a soft brush or hair dryer on a cool setting to remove surface dust gently. Avoid placing these items near direct sunlight which fades pigments and weakens fibers slowly.
Keeping humidity levels moderate prevents mold growth or warping of the paper material itself. Store spare supplies in sealed bags to protect them from moisture damage during storage periods.
FAQ
What type of paper is best for making realistic looking flowers?
Crepe paper is generally considered the best choice because it has a textured surface that mimics real plant fibers well. It stretches easily allowing you to shape petals into natural curves without breaking. Thinner varieties work better for delicate blossoms while thicker grades suit larger blooms.
Can I use this method to make flowers for wedding decorations?
Yes absolutely since paper flowers offer durability and cost savings compared to fresh alternatives. They withstand travel and handling better than live plants during transport between venues. Customizing colors to match your specific wedding palette makes them perfect for table settings.
How long does it take to learn how to make a flower out of paper properly?
Most beginners can complete their first simple rose within thirty minutes of watching a tutorial. Mastery of complex techniques like layering multiple shades may take several weeks of practice. Consistency matters more than speed when aiming for high quality results consistently.
