Many artists struggle when trying to capture the vibrant shape of tropical blooms. The layered petals often look messy without understanding their underlying geometry. This guide breaks down the process into manageable steps so you can create a realistic representation. You do not need advanced skills to begin this project successfully. Starting with simple geometric forms helps build confidence quickly. Patience remains the most important tool in your artistic kit.
We will explore every aspect of the flower structure together. By following these instructions, you will gain clarity on the design. Let us move forward into the specifics of the anatomy. Understanding how to draw a hibiscus flower requires observing nature closely. Real plants show variations that make each bloom unique. We will focus on the standard form found in most illustrations.
Understanding the Structure Before You Start Drawing
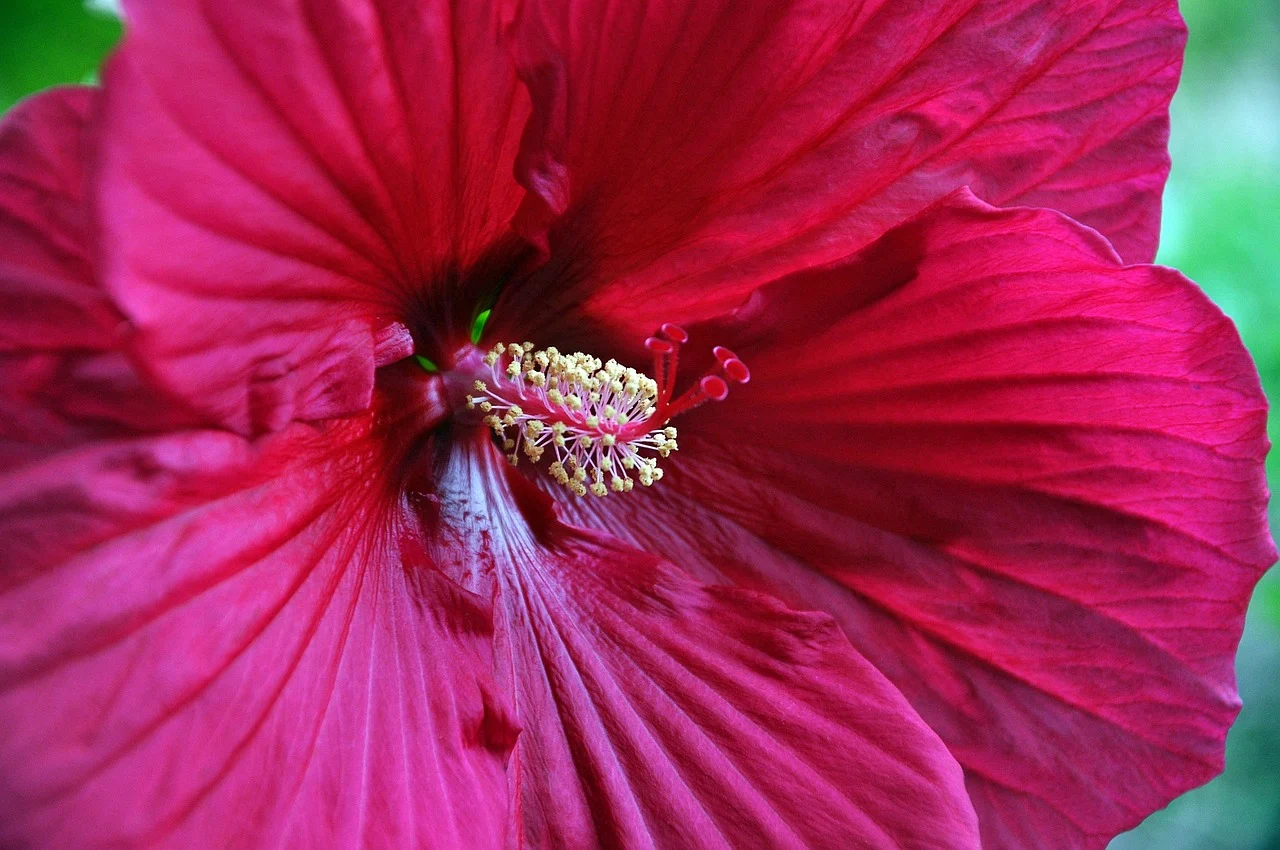
A hibiscus has a distinct radial symmetry that guides the entire composition. You need to identify the central column where the reproductive parts emerge. Recognizing these core elements prevents proportion errors during the initial sketch phase. The flower typically features five distinct lobes radiating from the center. Each lobe connects at a specific point near the throat. Ignoring this connection leads to disjointed shapes later in the process.
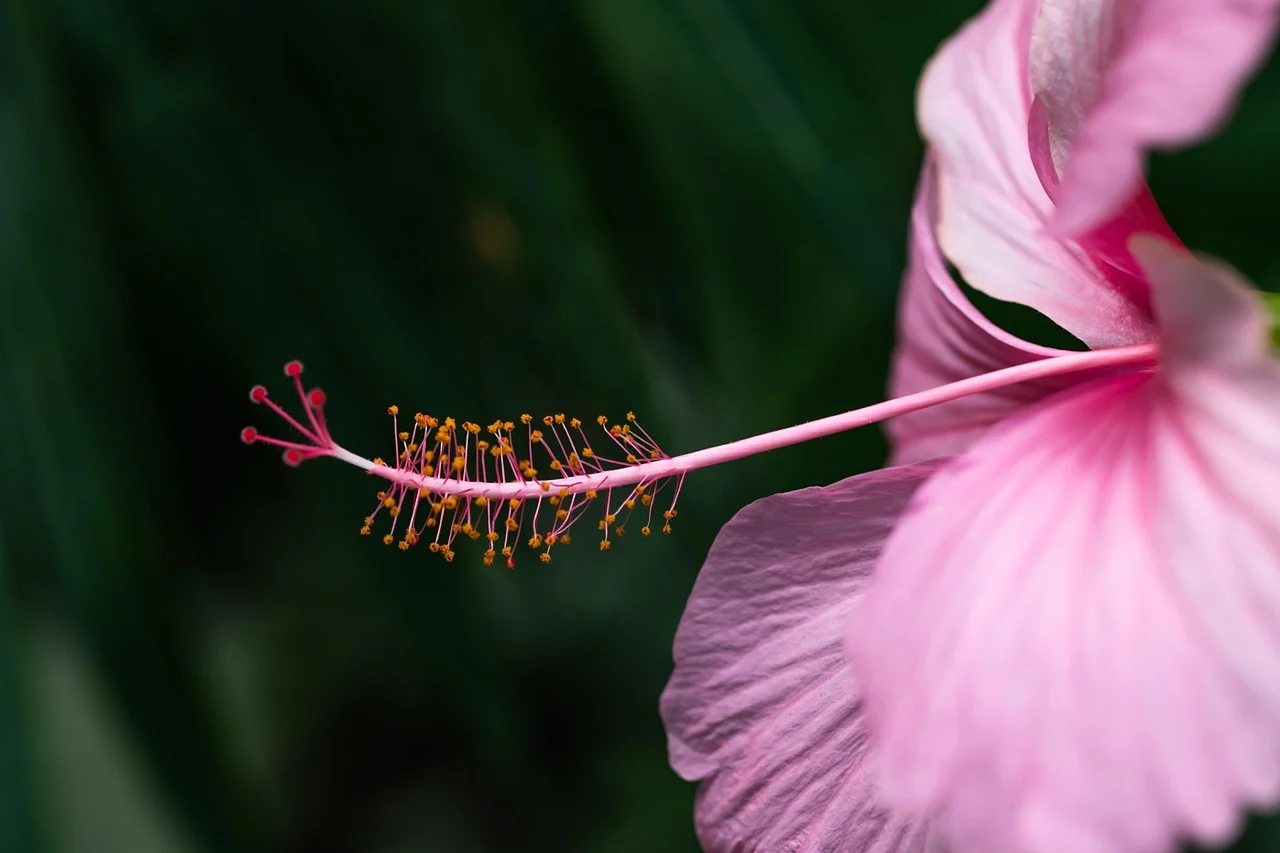
The stamen is a critical feature that defines the species visually. It extends outward like a long antenna from the middle of the bloom. Beginners often mistake the pistil for part of the petals. Separating these structures clearly improves the botanical accuracy of your work. Take time to study reference images before picking up a pencil.
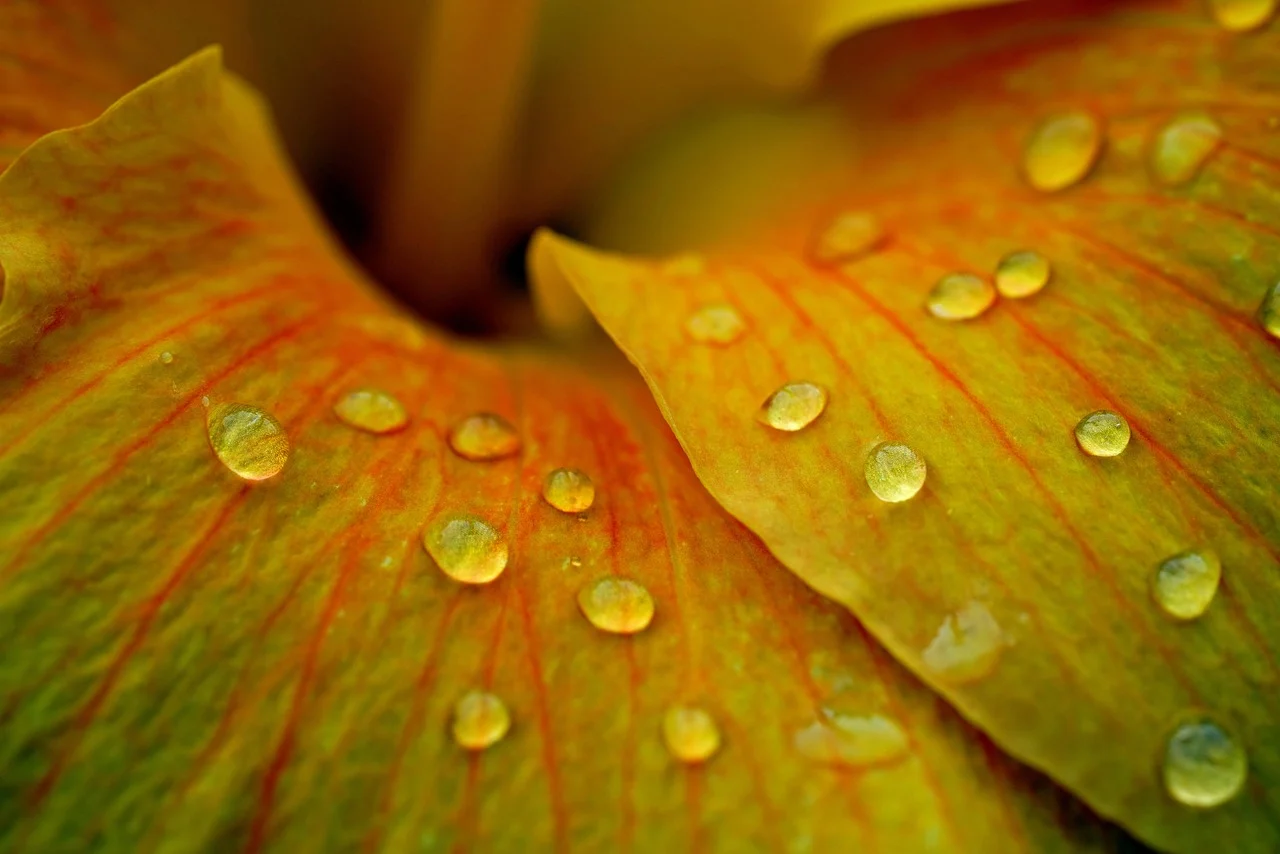
Lighting conditions also affect how you perceive the curves of the petals. Shadows fall deeper near the base where the petals fold inward. Highlighting these areas gives the drawing a three-dimensional appearance. Always consider the light source when planning your shading strategy. Consistency in lighting makes the final image look more professional.
Steps to Draw a Hibiscus Flower for Beginners
This section explains exactly how to draw a hibiscus flower using basic shapes. Begin with a small oval for the base of the flower structure. Connect curved lines outward to form the open petals around the center. Ensure the lines flow smoothly without harsh angles or sharp corners. Soft transitions mimic the organic texture of real plant tissue.
Sketching the Basic Shape
Light pressure allows you to erase mistakes easily as you work. Focus on the curve of each petal rather than drawing straight lines immediately. Soften the transitions between the petals to mimic organic growth patterns naturally. Check your proportions frequently against a reference photo or plant specimen. Adjustments are much easier during this preliminary stage of the artwork.
Adding Petals and Texture
Real hibiscus petals show subtle veins running from the base to the tip. Use quick hatching strokes to suggest texture without overworking the paper surface. Darker tones near the throat add dimension to the overall appearance. Do not rush this step as it adds significant visual interest. Layering colors or graphite gradually creates depth effectively.
Once the main body is defined, refine the outer edges of the petals. Some petals may curl slightly depending on the angle of view. These minor imperfections make the drawing feel more authentic and alive. Erase any construction lines that remain visible after adding detail. Clean edges help the subject stand out from the background.
Common Mistakes When Learning How to Draw a Hibiscus Flower
Beginners often make the stamen too short compared to the rest of the bloom. The pistil should extend significantly past the petals to maintain botanical accuracy. Symmetry issues also arise when petals vary too much in size. Try to keep the spacing between petals relatively even for balance. Uneven distribution distracts the viewer from the central focal point.
Another frequent error involves ignoring the folds where petals meet the stem. These creases create shadow areas that anchor the flower visually. Skipping them makes the bloom look flat and two-dimensional. Pay close attention to the negative space between the overlapping layers. This technique separates the foreground petals from those behind them.
Color application is another area where many artists lose control early. Too much pigment can obscure the delicate veins under the surface. Work in thin layers to preserve the white of the paper. This approach keeps the image bright and luminous throughout the process. Allow ample drying time between heavy applications if using markers.
Tools and Materials for Best Results
A standard HB or 2B pencil works well for initial outlines and shading. Heavy-weight sketchbook paper handles erasing better than thin printer paper. Keep a kneaded eraser handy for lifting highlights without smudging the graphite. A blending stump helps soften gradients between different tonal values. These tools ensure a smooth finish on your final piece.
Colored pencils offer versatility for adding vibrancy to the final sketch. Red and pink hues are common for this specific tropical variety. Yellow accents highlight the center of the stamen realistically. Test your color choices on a scrap sheet before applying them. Mixing complementary shades can create shadows that look natural.
Digital tablets provide an alternative method for those who prefer screens. Layers allow you to experiment without damaging the original line work. Brushes with texture settings simulate the grain of traditional paper. Whether analog or digital, the fundamental principles of drawing remain the same. Choose the medium that feels most comfortable for your workflow.
FAQ
What kind of paper is best for learning how to draw a hibiscus flower?
Heavyweight sketch paper around 100lb holds up well to repeated erasing and layering. Smooth surfaces allow for fine detailing of the stamen and veins. Avoid glossy magazine paper as it resists standard pencil graphite.
How can I make my hibiscus look realistic instead of cartoonish?
Focus on the irregular shapes of the petals rather than perfect circles. Add soft shadows where the petals overlap to create volume. Observe how light hits the curves to place highlights correctly.
Is it necessary to use colored pencils when learning how to draw a hibiscus flower?
No, a monochromatic graphite sketch captures the structure just as well. Color adds beauty but is optional for mastering the form first. Stick to black and white until you understand the anatomy fully.
Why does my hibiscus drawing look flat without enough depth?
You likely skipped shading the areas where petals fold into the center. Darker tones create the illusion of distance and curvature. Always leave some white space to represent light reflection on the surface.
